.png?width=2000&height=500&name=Compliancy%20Group%20logo%20(3).png)
Overview
This article outlines the process for uploading policies using the Policy Uploader. This feature can be used to upload documents in the following formats: Text (txt.), PDF (pdf.), and Word (doc. docx.). The uploader supports documents up to 50MB.
Steps to Upload a Policy Document
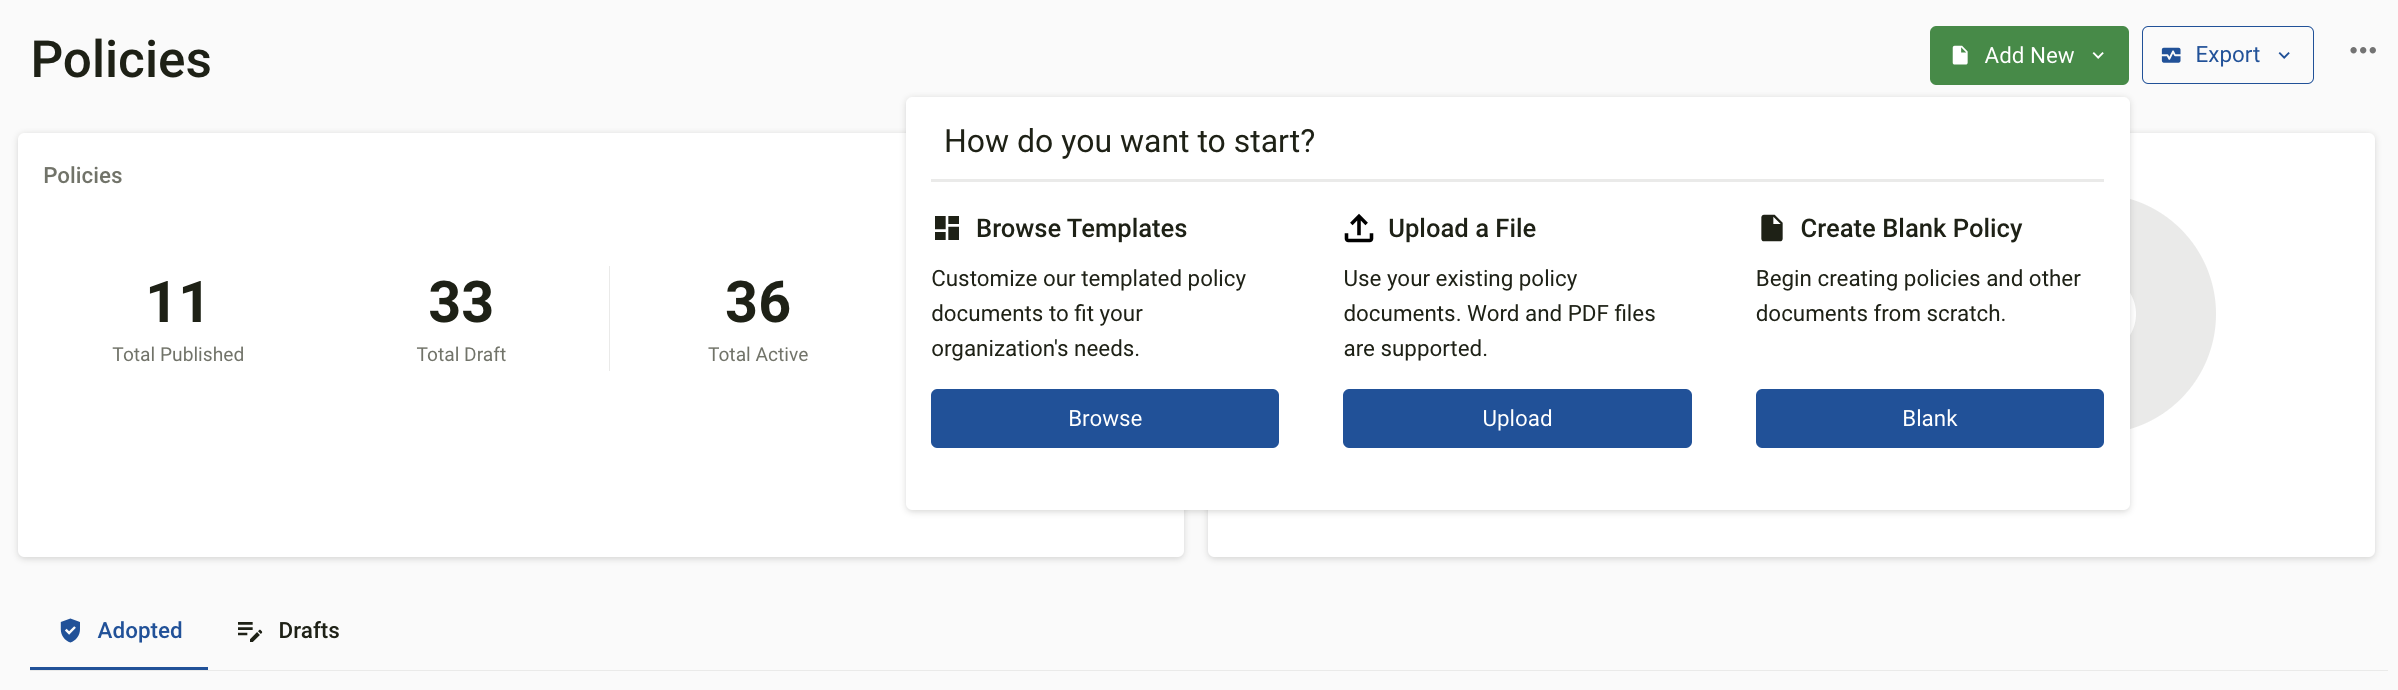
- Navigate to the Policies Module (Click on Policies on the left-hand navigation bar)
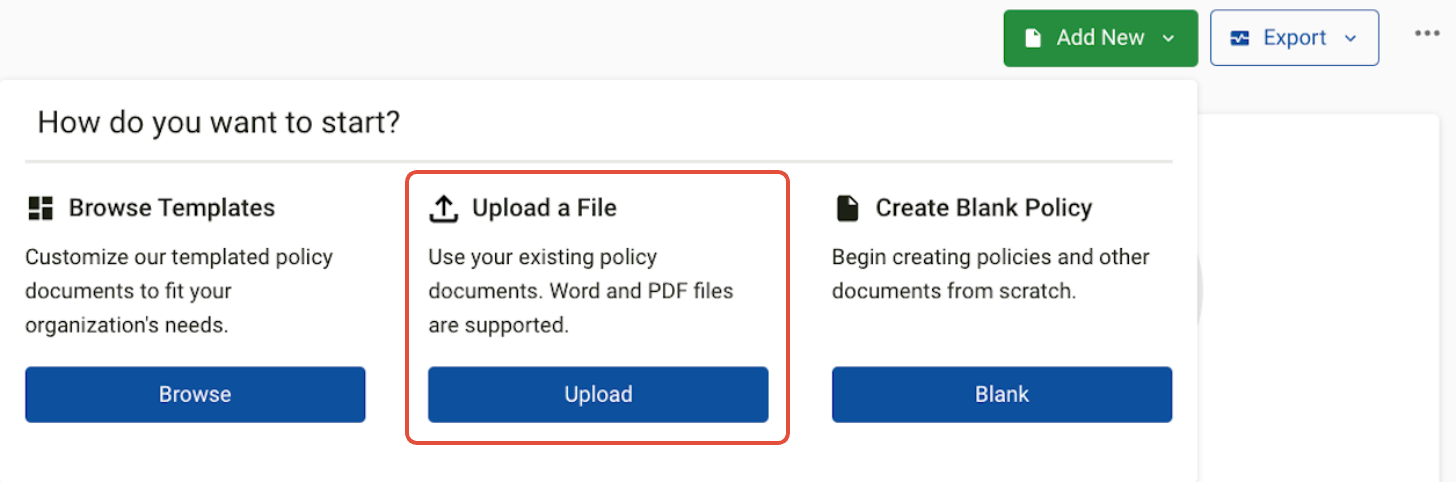
- Click on the “Add New” button located in the upper right-hand corner of the Policies module, then select the Upload option.
- Choose the file to upload. Ensure the file is one of the accepted formats: Text (txt.), PDF (pdf.) , or Word (doc. Docx.). Documents up to 50MB are supported.
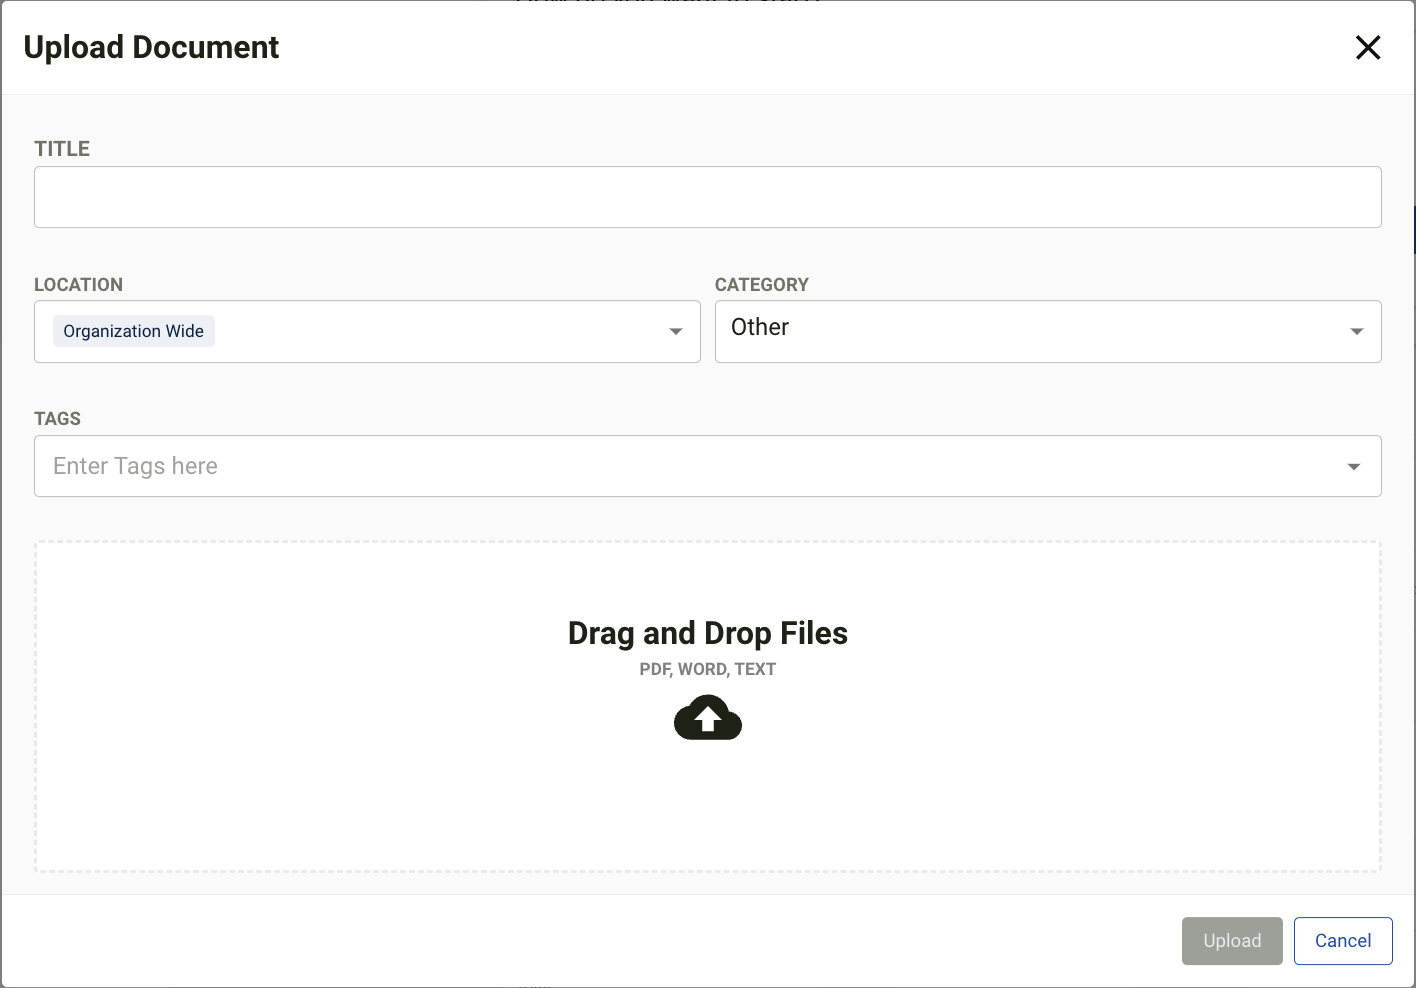
- Before/After selecting the file, enter the following information:
- Document Name: Add the title for the document
- The Title will automatically inherit the existing title, if none is provided before the file is selected
- Tags: Add any relevant tags to help categorize the document.
- Document Category: Select the desired category for the document.
* IMPORTANT: These fields can be updated/changed after initial upload, if needed.
- Document Name: Add the title for the document
- Review the Draft
- Once the document is uploaded, it will be in a Draft state and may be reviewed before Activating the document. Fields on the right-hand side and title (above) can be altered and adjusted as needed.
- Please note that Uploaded Documents cannot be edited directly within The Guard. To "edit" an existing uploaded document, a new Version must be uploaded.
- Uploading a New Version
- To make changes to an uploaded document, use the option in the upper right-hand corner to “Upload New Version.”

- When uploading a new version, additional details about the changes made to the document can be specified in the Comment text field.
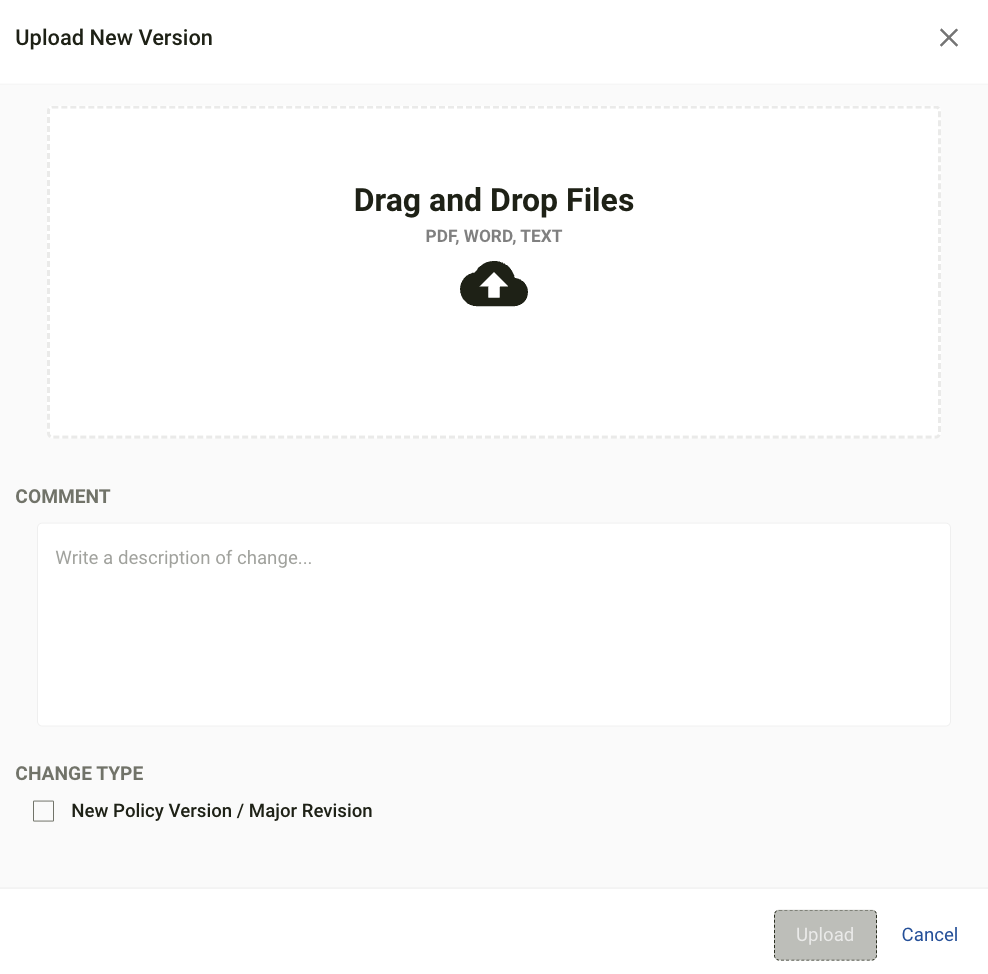
- If the new Version of the document incorporates an major change/revision, the Change Type box may be selected - this will increment the Version Number by 1:
- Minor Changes: Version 1.1, 1.2, etc - The number AFTER the decimal indicates a minor change
- Major Changes: Version 1.0, 2.0, 3.0 - The number BEFORE the decimal indicates a major change
- If the document is assigned for Attestation, another checkbox will be visible that may be selected at this time, if the update requires Employees to Re-Attest to the document.
- To make changes to an uploaded document, use the option in the upper right-hand corner to “Upload New Version.”
- Adopting the Policy
- After completing review, select the green “Adopt” button in the upper right-hand corner
- The Document will now be located under the Adopted tab
Once a Document/Policy has been successfully Adopted/Activated, then it can be assigned for Attestation, just like other Policies and Documents in this module. For guidance on setting up Attestation, please see the following Knowledge Base Article: Policies - How to Assign for Attestation